2025-08-24 19:23:38
2.7k
174
Customizable Pinball Machine

@samYEE_3871229
Donate
Message
Follow
Recommended printing method
Add
Stuff on the board
Kobra 3
Kobra 2
、
Kobra S1
、
Kobra 4
、
Kobra X
、
Kobra 3 V2
、
Kobra 3 Max
、
Kobra 2 Max
、
Kobra 2 Pro
、
Kobra 2 Neo
、
Kobra 2 Plus
/ Plates:2
/ 52m
61
Share


Description
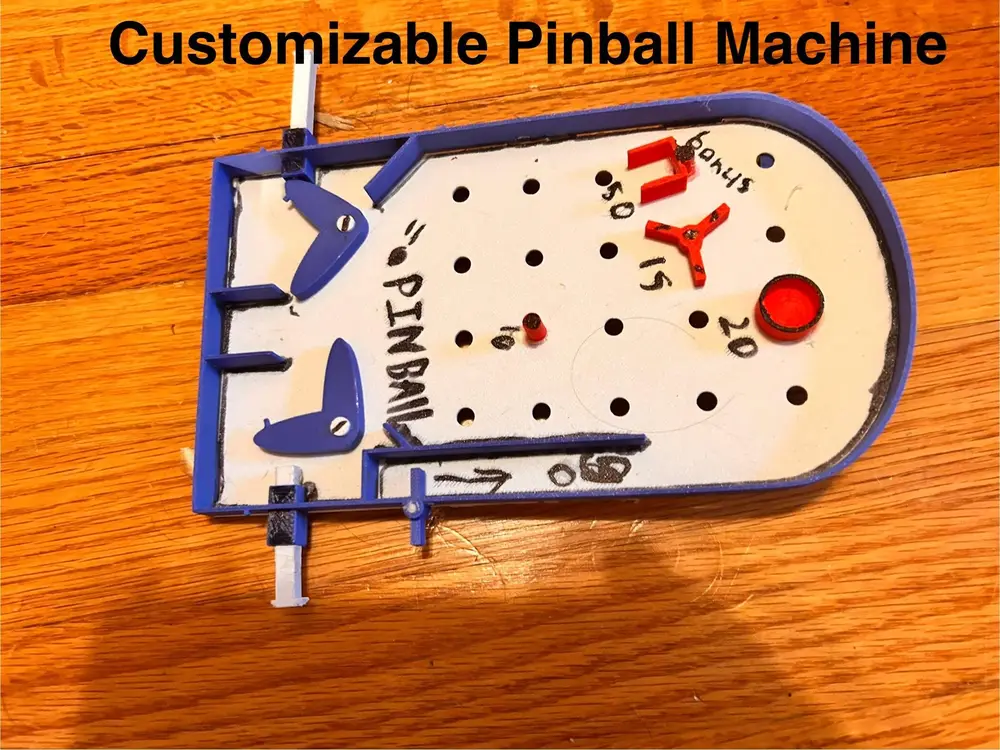
This pinball machine stands out because it's customizable! Place one of the obstacles anywhere on the board, and make your own obstacles!
NON 3D PRINTED PARTS:
-2 loom bands
-metal ball (less than 1/2 in)
INSTRUCTIONS:
- Print the PinBoard and Rails files, then snap the rails on on the side of the board that faced the bed while printing. Glue if needed.
- Print 2 feet and snap them on the bottom of the board.
- Print ONE of EACH FLIPPER and two flipper axles. Attach the flippers by putting the axles through the big holes on the board, and snapping the flippers on top.
- Print two pushers and put them in their slots with the bigger end facing INWARD.
- Use the rubber bands to attach the little pegs on the flippers to the pegs on the rails.
- Print the starter and the starter axle. Position the starter between the two rings on the board, and nap the axle in place. glue axle if necessary.
- Print as many tricks as you like. Most of them just snap into the holes on top, but the spinner snaps in like the flippers.
- If there are leftover holes, print covers for them (or just consider them tricks ).
TIPS:
- Make sure the ball never gets stuck going down, leave plenty of space between tricks.
- if the pushers aren't working, just take the rubber bands off and flick the flippers directly with your fingers :)
- You might need to glue down a couple of trick so they don't fly off when hit.
Have fun building this project!
Tags
License