2025-08-03 03:17:41
1.4k
96
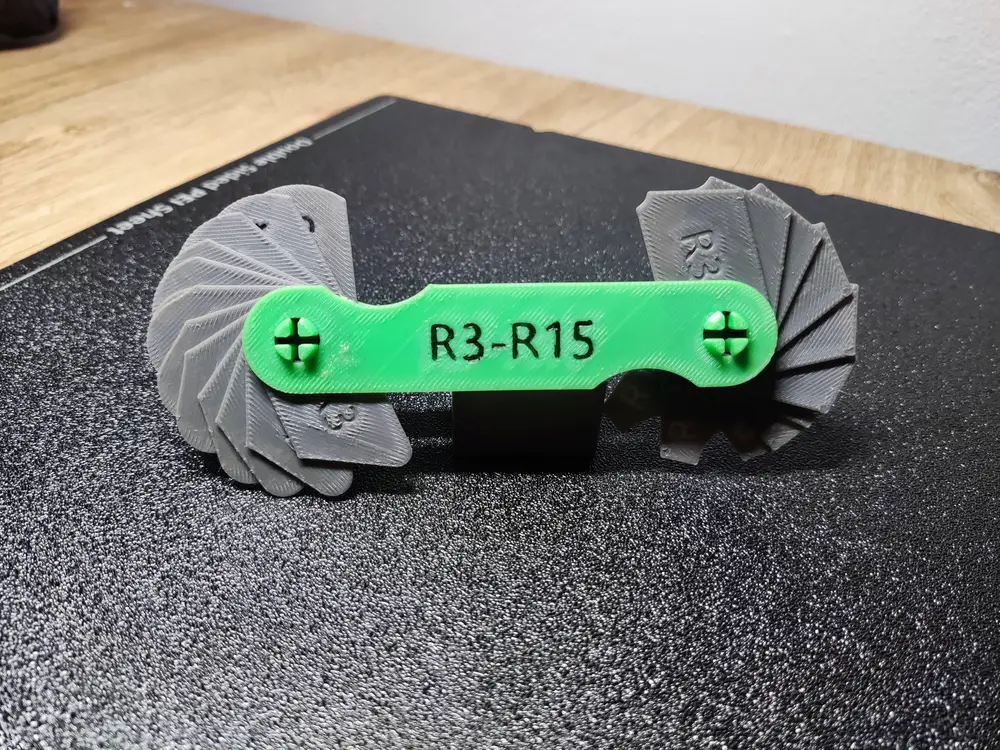
Radius Gauge R3-R15

@Selle732_865659
Donate
Message
Follow
Recommended printing method
Add
Radius Gauge R3-R15
Kobra S1
Kobra 3
、
Kobra 2
、
Kobra 4
、
Kobra X
、
Kobra 3 V2
、
Kobra 3 Max
、
Kobra 2 Max
、
Kobra 2 Pro
、
Kobra 2 Neo
、
Kobra 2 Plus
/ Plates:2
/ 1h14m
23
Share


Description
Radius Gauge R3-R15
It´s 2 plates:
Plate 1: Radius Gauges
Plate 2: Cover Top and Bottom
Assembly:
First snap the radius gauges into the Cover Bottom and then snap in the Cover Top.
The signs are just cut into the parts with the emboss tool from the Anycubic Slicer Next.
I colored it with a permanent marker, but it´s also readable without coloring.
If you got an ACE you can modify the signs and print them directly with a different color.
Have fun and leave a like if you like ;-)
Tags
License
Standard Digital File License
This work is licensed under the Standard Digital File License.
You are prohibited from sharing, sub-licensing, selling, renting, hosting, transferring, or distributing the digital file or 3D printed versions of this object, as well as any other derivative work in either digital or physical form (including remixes).You are not allowed to use the objects in any manner that involves charging money or collecting fees without permission.
You are prohibited from sharing, sub-licensing, selling, renting, hosting, transferring, or distributing the digital file or 3D printed versions of this object, as well as any other derivative work in either digital or physical form (including remixes).You are not allowed to use the objects in any manner that involves charging money or collecting fees without permission.